- Published 15 Mar 2023
- Last Modified 29 Aug 2023
- 12 min
How Do Hinges Work?
Make sure your hinges fit perfectly with this guide on how to fit and adjust them.

Reviewed by David Carmichael, Solution Engineer (September 2022)
From electrical cabinets to office doors, hinges are metal or plastic components that create an open and close system. Standard hinges have two sides that need to be fixed to two elements to create a connecting joint.
Depending on the specific design or requirements of a piece of furniture, door or other application, there are a variety of hinges to choose from, such as soft-close, flush and concealed mechanisms. Each of these hinges needs to be fitted slightly differently so it can bear the load of the two elements, give the desired aesthetic and operate effectively.
This guide will outline how hinges work, the different types of hinges available and give tips on how to fit them so they can keep your door, gate or piece of furniture opening and closing effectively.
How to Fit Door Hinges
Although the basic mechanics of each hinge component is the same, there are a variety of options available to meet the specific needs of each door or piece of furniture, all of which need to be fitted slightly differently.
How to Fit Hinges
The most common types of hinges used for standard applications include:
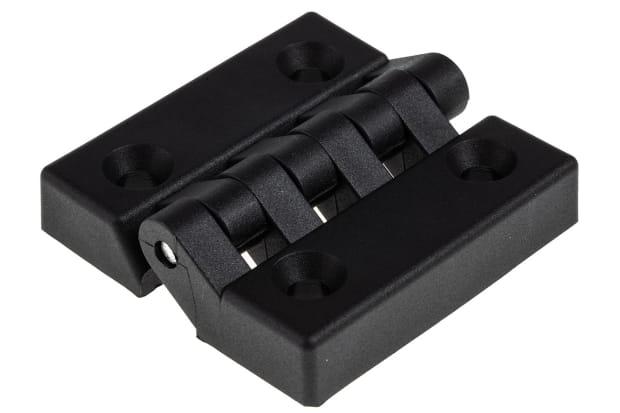
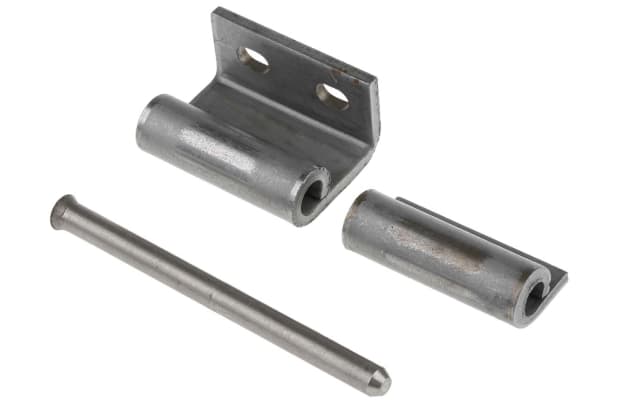
- Butt hinges: made to connect abutting surfaces, these hinges have two leaves with a barrel and pin mechanism
- Flush hinges: flush hinges are designed to sit on top of surfaces and can be installed with no recess needing to be cut, making them ideal for lightweight applications
- Concealed hinges: these mechanisms perform the same function as butt hinges but can’t be seen when the door is closed, allowing for a smoother, invisible aesthetic
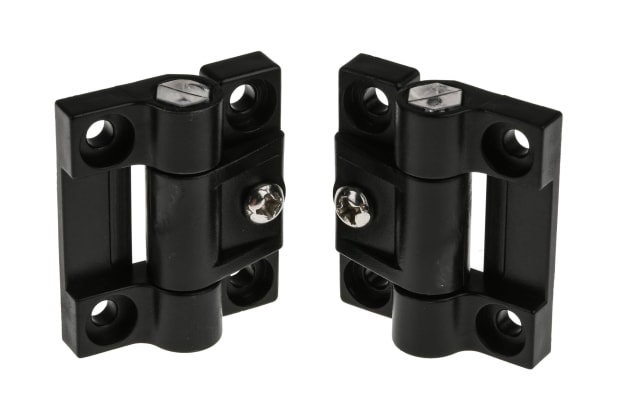
- Spring hinges: used most often on fire doors or in commercial properties, these hinges have a spring in the centre of the barrel that allows it to close on its own
- Piano hinges: longer than a standard butt hinge, these hinges run along the edge of a joining and are often used in pieces of furniture or on cabinet doors
- Tee hinges: named after their shape, these hinges have a rectangular and tapered leaf which makes them suitable for heavy-weight applications
As well as considering which hinge design will meet the needs of your specific application, thinking about the material they’re made from (e.g. steel, brass or plastic), the way they’re mounted (e.g. screw or weld-on) and any special features (such as soft or self-closing) will help you find an option that matches your requirements. For doors inside a house, butt hinges tend to be the most used choice.
If you’re fitting a butt hinge to an internal domestic door, then here are the steps you need to follow to make sure it opens and closes smoothly:
How to Put Hinges on a Door
- Place the hinges: the first step should be to place the hinge where you think it should go and check that it will operate in the way you intend it to. For example, make sure the hinge is placed so it will allow the door to open into the room or back towards you depending on your preference
- Measure up: for the door to hang correctly, the recommendation is to place the first hinge five inches from the top of the door and the second hinge ten inches from the bottom. Measure out these distances on the door and the jamb and make a mark. Then place the hinges at the centre of this mark and trace their position
- Cut the recesses: to make sure the door and frame sit snugly together, the hinges need to be sunk (or recessed) into the door and jamb. To do this, use a chisel and hammer to carefully cut out the section you’ve just traced. Make sure these are at a suitable depth for the leaves of your hinge
- Put the hinge on the door: place the leaf back in the recess of the door and mark the centre of each screw hole with a drill or pencil. Then, with a drill bit that’s smaller than your screws, drill a pilot hole into the screw locations. Finally, put the hinge back in the recess and screw it in place. This should make sure your hinge is straight and central
- Attach the door to the jamb: supporting the door using blocks (or another helper), screw the second leaf of the hinge into the recess you’ve made in the frame. Once this is done, remove the support and check the function of the door and make any necessary tweaks to ensure it opens and closes smoothly
How to Fit Soft Close Hinges
Each type of soft close hinge will have a slightly different installation process, so it's important to check the instructions for your specific component before you start. The typical process for fitting soft close hinges to a cabinet door involves these steps:
- Removing any old hinges and detaching the doors
- If you’ve chosen hidden soft close hinges, drill in any required recess to the cabinet doors
- Place and fix the hinge onto the cabinet door, either by putting it into the recess and screwing it in or tracing around the hinge, marking the screw holes, drilling in pilot holes and finally screwing the fixing in place. If your hinge has an arm, this should overhang the cabinet door by about half an inch to ensure the door can open and close properly
- Fix the mounting plates to the inside or the frame of the cabinet. Before fixing it in place, make sure you double-check the alignment with the hinge on the cabinet door
- Clip the hinges into place and open and close the door to make sure the alignment and motion are correct
How to Fit Flush Hinges
Flush hinges are some of the easiest types of hinges to fit. However, you still need to make sure your measurements and placement of the hinge are correct. You can do this by:
- Placing the hinge on the surface it will be fixed to, making sure it’s squarely set and marking the holes of the hinge
- Drilling a guide hole using a bit that’s smaller than the size of the screws
- Put the hinge back in place and screw it into place on the surface
- Repeat the process on the other surface to create the connecting joint
How to Fit Concealed Hinges
There are several types of concealed hinges which are hidden from view in different ways, including:
- By being placed on the reverse of the connected surfaces e.g., on the back of the lid to a chest
- By being placed on the internal side of the connected surfaces e.g., on the inside of a kitchen cabinet
- By being recessed into one of the connected surfaces e.g., into the door and/or the frame
This means each type of concealed hinge is fitted in a slightly different way. Though, as always, making sure that each end of the hinge is placed, marked up and has guide holes drilled before they’re screwed in place will help you align and fix your concealed hinge in place correctly.
How to Fit Cabinet Hinges
The way you fit hinges onto your cabinet depends on the design of both elements. The placement of the cabinet and the door will affect where the hinge needs to be fixed and the type of hinge will require different processes to be fitted correctly.
The most common types of cabinet doors are:
- Fully inset, which means the door is mounted in line with the front edge of the cabinet
- Partially inset, where the inside of the door meets the sides of the cabinet, and the outside of the door partially covers its front edges
- Overlay, where the door completely covers the front edges of the cabinet
There is also a vast range of hinges that can be used for cabinet doors, including concealed, flush, soft-close and butt hinges, all of which will be fitted slightly differently. However, by carefully measuring out the placement of the hinges on the cabinet and the door and double-checking this before fixing the hinge in place on each surface, you can make sure your fitting is as accurate as possible.
How to Adjust Door Hinges
If you’re having problems with opening and closing your door, then before you make any adjustments, you need to take a good look at each element of the door to see what the root cause for the misalignment may be. There is a range of common issues that can cause doors to sag, stick, creak or become wonky. How to adjust door hinges correctly:
- A loose top hinge: because this hinge bears most of the weight of the door, if it is sagging or coming away from the top edge, it’s likely to be because the top hinge isn’t screwed in tightly enough, or the screws used aren’t long enough to support the weight. Tightening up or replacing the screws on the top hinge should fix this problem
- A recess that’s too shallow or deep: if the door is too close to one side of the frame or can’t be opened fully, then it’s likely that the depth of the recess doesn’t meet the thickness of the hinge. This can be fixed by deepening the recess with a chisel or packing it out with cardboard or other materials
- The recesses don’t closely fit the hinge: if the hinge doesn’t fit comfortably within the recess that’s been created for it, then a door might become stuck to the frame as you try to open and close it. To fix this, unscrewing the hinge to inspect the recess and carefully adjusting its shape with a utility knife and chisel will create a closer fit
- The hinges aren’t in the right place: if a door keeps opening and closing on its own, then it’s likely that the hinges aren’t in the right place to balance the door correctly. Depending on the type of hinge, you may need to take off the hinge, redo the recesses and re-screw the hinge. You can fill in any holes left over in the frame or door with wood and wood filler
- The hinges aren’t straight: this may mean that a door doesn’t line up close to a frame, causing a wonky appearance, or some sticking or jamming. Taking the door off and adjusting the hinges so they’re straight in the recess, on the frame or door will help to fix this problem
How to Adjust UPVC Door Hinges
Each UPVC door will have a slightly unique design, so it’s important to refer to your instruction manual before you start making any adjustments. Most UPVC hinges will have an adjustment slot behind a protective cap that can be unscrewed and lifted. Then, using the right-sized Allen key, you can adjust the depth, horizontal or vertical alignment of the hinge.
How to Adjust Composite Door Hinges
Most composite door hinges can be adjusted by taking off the protective cap at the top or bottom of the hinge with a flat-head screwdriver and using the right-sized Allen key to adjust the alignment dials in the hinge. Rotating the top dial of the hinge will adjust the door vertically, turning the bottom one will adjust it horizontally, and moving the central one will move the door closer or further away from the hinge. Adjusting each hinge a bit at a time will help you to correct any alignment easily.
How to Adjust Soft Close Hinges
There are two types of adjustments you might want to make to soft-close hinges - the speed of closure and the placement of the hinge itself. Although each hinge is different, most of them have three screws on the outside that can be used to adjust their alignment.
The screw closest to the fixed part of the hinge will move laterally to the fixing. The screw next to this will move the hinge arm closer or further away from the fixing. The screw below this will adjust the hinge vertically. It’s worth noting though that these adjustments are only minor, usually just a couple of millimetres in any direction.
Each soft close hinge will also have a speed adjustment lever. This will be different on each design, so it’s worth checking your manufacturer’s instructions to see where this may be. This can often be adjusted by using an Allen key to turn the lever clockwise or anticlockwise to speed up or slow down the soft closure.
How to Adjust Cupboard Hinges
Just like with doors, there are a few adjustments you can do on cupboard hinges to try and fix their alignment. When you’re troubleshooting any problems, consider:
- Are the screws tight enough?
- Are all the screws of the correct length?
- Have the fixings been put in the right place according to the cabinet design?
- Are any recesses the right shape, size and depth?
- Are there any special features, such as soft close, self-close or hinge switches that need to be adjusted?
By running these checks and making one adjustment at a time, you can help to fix any problems with your cupboard door’s alignment and ensure they open and close freely.
How Many Hinges per Door?
Typically, you will only need two hinges to hang a door on a cupboard or frame. However, if the door is heavy or particularly tall, the rule of thumb is that a hinge should be placed every 30 inches on the door. So, if it’s 60 inches long, you’ll only need two hinges. If it’s 90 inches tall, you’ll need three.
When it comes to cupboard doors, two hinges should usually be enough, as these are typically small and lightweight. However, this may change in the case of any heavy wardrobe or furniture doors and depending on the type of hinge you’re using. If you’re not sure how many hinges to use, check the specifications to see what level of weight bearing, door thicknesses and heights it is most appropriate for.